Getting out of the ground is a milestone, that marks the beginning of the end. I have a four part blog sequence that outlines the process, preparing and installing a concrete slab into an old building. Have you done this before? Feel free to share your experiences and any tips.
A Good Solid Base; Preparing the subfloor
When undertaking any subfloor activities, especially renovations, it is important to consult with an Engineer. The key factors for consideration are the ground conditions and the condition of your perimeter walls.
It is worthwhile digging a test hole along the perimeter before you start the job to identify the ground conditions and how the foundations of the walls have been built. Most cottage stone walls have thick foundation stones that step inwards into the interior. A rising wall is built on this foundation stone to slab level. In some, only buildings slate wall used at slab level as a damp proof course to prevent damp passing up the wall. However, this is not the case in most stone buildings. The stepped foundation stone can cause tricky problems with installing insulation, damp proof courses and radon barriers. Some cottages rising walls are built straight on subsoil. If you discover this you may have to install underpin foundations into the entire structure to guarantee its stability. In my case, the building is built onto several rock shelves and the wall thickness remains the same under the subfloor.
A subfloor is typically built up by a 300mm of compacted hardcore fill to make a solid base, and 50mm of sand blinding to protect the DPM and Radon Barrier from been punctured by the hardcore base.
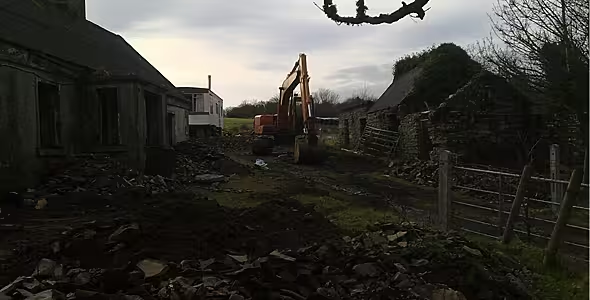
In this case, my house is build on solid blue stone and we were able to use the graded stone removed from the building as hardcore, with 50mm of sand blinding on top. It is important to make a level compacted base so that the insulation does not create air pockets under the slab.

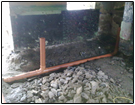
In most cases, waste from the toilets and sinks are taken out the wall. I decided that I did not want a clutter of pipes around my building. I will install the services in the subfloor and will provide covered manholes outside the building for maintenance.
This requires forward planning, you must know the location of your toilet, and bathroom and kitchen waste outlets or locate them in a position that will be flexible to your decisions later on. Locate the waste approx 125mm from a finished wall. This is important as the top hat fitting that seals the waste pipe to the radon barrier is 100mm larger than the pipe fitting. Make sure to locate the pipe bends below the subfloor so that they will not affect your top hat covers sliding down to the level of the radon barrier. Waste pipes must also be vented to roof level, so if you take the above approach ensure you have suitable space to provide for a PVC pipe or flexible duct to a ventilation tile on your roof.
When laying out your waste system make sure to consider an easy route to pass your services to the outside. Passing services at doorways is easier than exterior walls. Making holes in exterior walls is very destructive and physically difficult to make service holes in exterior stone walls at foundation level. I have learnt two things doing this in the past. Firstly, a kango is no good unless you have weight behind it and this is tricky working on verticals. Secondly, stone walls are strangely very flexible as the lime cement soaks up the power of the machine like a sponge.
Make sure you make a clean perpendicular edge on the perimeter; this will make it easier to set out your finished levels and also make a better fit for the radon barrier. In my situation, there was a jagged stone surface that would cut the radon barrier/damp proof membrane. So I plastered up the edges of the subfloor to avoid puncturing the membrane.
Stay tuned to my next blog part two of this sequence “Getting a Good Seal; Damp Proof Membrane (DPM), Radon Barrier and Insulation,”
Useful Links
Advertisement


